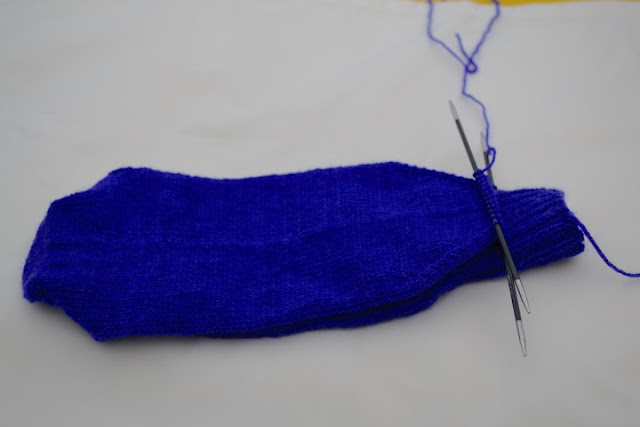
For today's post I'm talking about finishing the toes. You decrease the same way as the gusset decreasing and the only difference is that you decrease in more spots.
Needle 1: Knit to last 3 stitches, then knit 2 together, knit 1.
Needle 2: Knit 1, ssk, then knit all those stitches on that needle.
Needle 3: Knit to last 3 stitches, then knit 2 together, knit 1.
Needle 4: Knit 1, ssk, then knit to end.
That is your decrease round. The next row is just knit, these 2 rows are your rows for decreasing the toes. Then you basically just keep decreasing like this until you have 6 stitches on each needle, a total of 24 stitches. You then need to move some of your stitches so that they are on 2 needles. You want it to be flat so that you have a heel side and an instep side. The last step is to use kitchener stitch to graft the toes together and once that is done you have finished your first sock.
Now about the toes on this pair of socks. All my past socks have always been knitted down to 3 stitches on all needles, so you end up with a more pointed toe. Now with this pair you go down to 6 stitches, so it's more of a rounded toe. Since using this pattern I have now decided to make all my future socks with the same type of toe as I like the look of it more.
Needle 4: Knit 1, ssk, then knit to end.
That is your decrease round. The next row is just knit, these 2 rows are your rows for decreasing the toes. Then you basically just keep decreasing like this until you have 6 stitches on each needle, a total of 24 stitches. You then need to move some of your stitches so that they are on 2 needles. You want it to be flat so that you have a heel side and an instep side. The last step is to use kitchener stitch to graft the toes together and once that is done you have finished your first sock.
 |
| See how I've moved my stitches and it's sitting flat. What you are seeing is the sole and heel side of my sock |
Now I just want to talk about two things. Kitchener stitch and the toes on this pair of socks. Now with kitchener stitch I myself really struggle to do this stitch and I can't actually do it the normal way. I always used to get to the last toe stitches and then knit a few rows in waste yarn and then graft from there. Now I have found a YouTube video that knits the stitches off and I can finally do it but I always do it this way. You are left with a bit of a loop at the end but I always pull this through to the inside and I sometimes use the needle to help it through.
Now about the toes on this pair of socks. All my past socks have always been knitted down to 3 stitches on all needles, so you end up with a more pointed toe. Now with this pair you go down to 6 stitches, so it's more of a rounded toe. Since using this pattern I have now decided to make all my future socks with the same type of toe as I like the look of it more.
 |
| See how the purple toe is a lot wide |
 |
| See how the orange toe is pointy and the purple one is more rounded |
So that is your first sock done and now you can start casting on for your second sock. Once you have made the second sock you will need to wash and block your socks. We will talk about that when the time comes.
Hope this is helpful. Need help? Contact me.
Happy Knitting
Sharyn
Hope this is helpful. Need help? Contact me.
Happy Knitting
Sharyn